DOF Tutorial
Enabling DOF in FurryBall is very simple and takes only a few steps.
First, enable Depth-of-Field in the Render Settings Node features. Then select an object where your focus should be and either select FurryBall menu -> DOF - Focus on Selected or the DOF icon on the shelf.

Now a DOF locator is created. If there already was a DOF locator for the current camera, it will be moved to the new position.
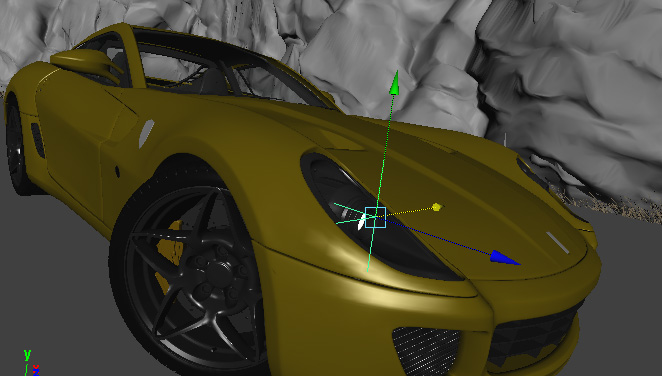
The DOF locator is selected and ready to move.
You can move the DOF locator around and your focus will change. Only the distance to the camera matters. A DOF locator is created for each camera and is automatically connected to its Focus Distance attribute. Also, the Depth of Field camera checkbox is automatically ticked.
NOTE: Since each camera has its own DOF locator, be sure to manipulate with the correct one for the selected camera.
Select camera and scroll down to depth of field section.
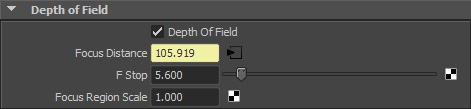
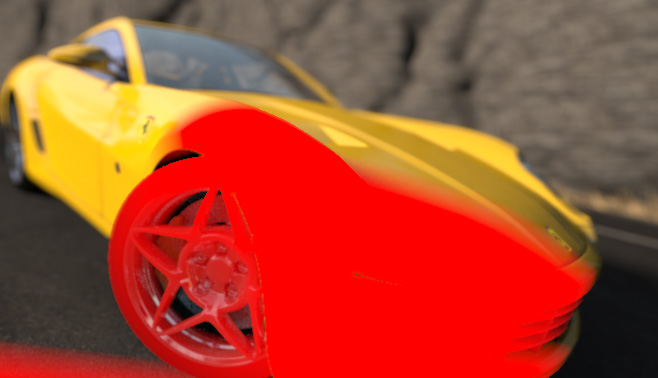
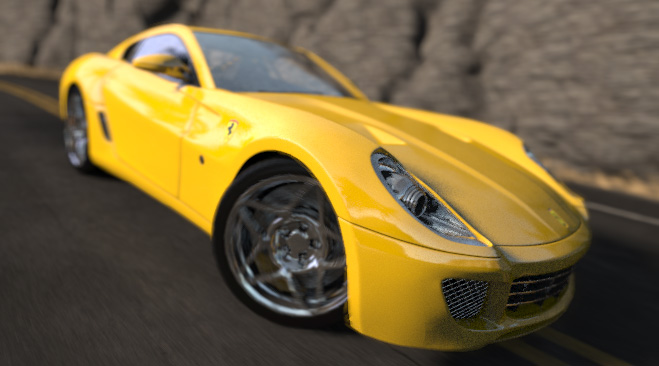
Changing F stop will affect depth of field strength.
You might need to experiment with the Focus Region Scale camera attribute. Set it to lower values to get a very narrow focus region and to high values to get a wide focus.
Tips:
Motion Blur Tutorial
Turning on motion blur in FurryBall is even easier than turning on DOF. Just enable it in the Render Settings Node features and it will immediately start working.
Amount of motion blur is controled by Shutter angle attribute, located in Camera's Special effects tab.

If you need to output motion vectors for an external post-process or software, select the MOTION BLUR pass as the Output Pass in the Render Settings node (see Render Settings Node section).
Created with the Personal Edition of HelpNDoc: Write EPub books for the iPad