There are two ways to get ambient occlusion in FurryBall, the first one uses ambient light and is more physically correct and the second is easier to set up and can be more convenient from an artist's point of view. The tutorial below describes the first way using ambient light, the second way would be the same without the ambient light part.
See GI Settings Node, Render Settings Node and optionally Light Node sections for more information.
Tutorial

Step 1 - Preparations
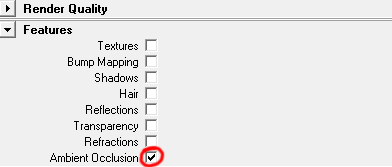
Enable ambient occlusion feature in currently active render settings node (see Render Settings Node section).
Step 2 - Ambient Light Settings (optional)
Add an ambient light to your scene.
Attach a light node to be able to adjust some special settings. Select the light and select 'Add Light Attributes' from the main FurryBall menu. There is always a 'New' menu item and a list of existing light nodes in the submenu, so you can create and attach a new light node or attach an existing one that is already used elsewhere. Select 'New' and rename it to whatever you want.
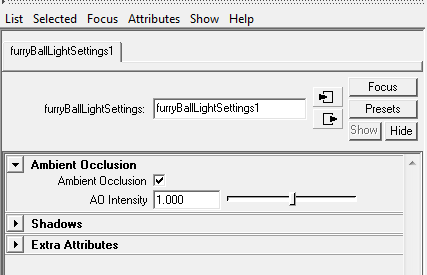
Go to the light node attributes and enable Ambient Occlusion.
Use AO Intensity slider to adjust occlusion intensity.

Note: Using AO intensity in light node the only light that is occluded is that from the ambient light, so adding other light sources will weaken the effect.
Step 3 - GI Settings
More tuning is usually needed to get AO intensity and quality right.
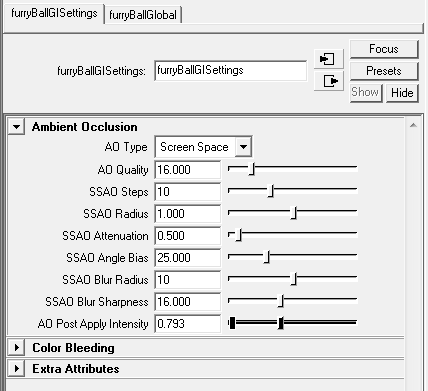
Select GI settings node from the main FurryBall menu.

There are many attributes affecting final AO results. For better tuning it is sometimes good to switch to AO rendering pass only (see Render Settings subsection in Render Settings Node section).
Thanks to the interactivity of FurryBall renderer you can just try what these attributes do and see the result immediately, however it is always better to know what you are really doing.
The important attribute here is the AO Post Apply Intensity which applies the AO to the final image with given intensity (whether or not there is an ambient light in the scene).
Step 4 - Add Shadows (optional)
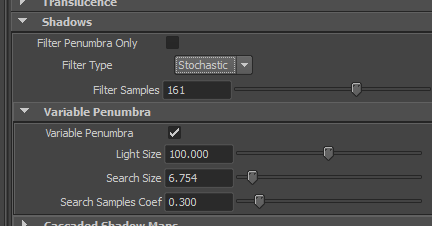
Create a spot light with depth map shadows enabled, attach a light node and enable Variable Penumbra and Stochastic Filter Type in its light node settings (see Tutorial 1: Shadows section).
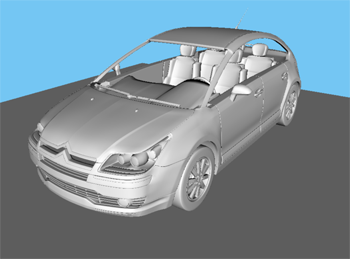
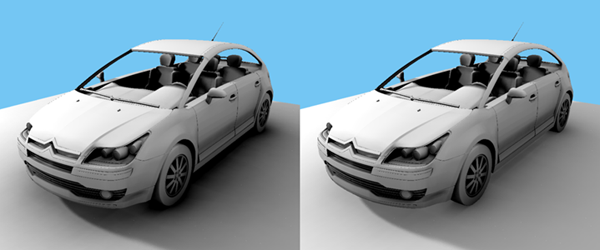
TIP: It is also possible to adjust received and cast AO intensity for each mesh separately. Attach a mesh node (see Mesh Node section) and adjuts AO Intensity Out / Received parameter for the floor to adjust how much occlusion it will give/receive to/from other objects. (Pictures below show the difference between values 1.0 in the left picture and 0.6 in the right picture for received AO)
Created with the Personal Edition of HelpNDoc: Full-featured Kindle eBooks generator