Material Node is another settings node in FurryBall, it is connected directly to a material shader and adds several new attributes used for various effects.
To be able to use attributes described below a material node has to be attached to a material you want to adjust settings for. To attach material node to a material shader, just select the shader(s) and select 'Add Material Attributes' from the main FurryBall menu. There is always a 'New' menu item and a list of existing material nodes in the submenu, so you can create and attach a new material node or attach an existing one that is already used elsewhere. See User Interface section for more details on other settings nodes.
Transparency
Alpha Mask
Assign a texture into the transparency node of a material and check this box to turn alpha masking on. Alpha masking discards pixels where the transparency texture intensity is less than 0.5. This can be used to simulates blades of grass, leaves, fences and other objects with 'holes'. This setting turns off classic transparency.
Alpha Mask Mipmap Fix
If selected, alpha mask mipmaps will be generated using an alternative filter. This can help with disappearance of distant thin masked objects (such as foliage).
Note: Alpha masks are not supported with FurryBall Car Paint material.
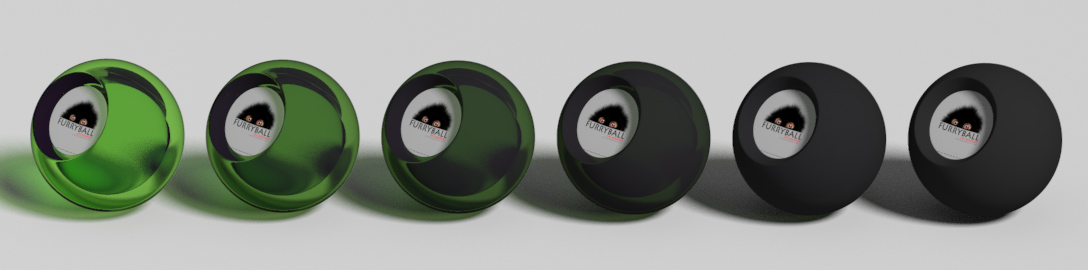
Refractions - Common
Note that these attributes have effect only if Transparency and Refractions features are enabled in currently active render node (see Render Settings Node section). Some of them have effect only if Refraction Index and Thickness Coef are non-zero.
Refraction Index
Ray refraction index when transparent surface is hit. Note that interpretation of this parameter is not physically correct. Experience shows that Thickness Coef is better for refraction tuning. Use this to avoid some refraction artifacts.
Thickness Coef
Only closed volumes can be refractive in FurryBall. Distance between the two surfaces is essential for refractions, this parameter allows some additional modifications to it and adds interesting effect. Best practice is to try several values and pick the best for your object, do not forget to tune Refraction Index as well for best result.
Refractions - Rasterization
Blur
Samples from other transparency layers will be blurred making the transparent object more dense like.
Back Surface
If this is disabled the second layer (second closest to the camera - usually back surface of a closed volume object) is ignored, this can remove artifacts in some rare situations when thickness is very high.
Refract Out Of Object
Sometimes an unwanted refraction can occur when there is an object in front of our refractive object and it can be seen in refraction. This could be an interesting effect (see picture) but if you consider it weird just disable this parameter or lower the Thickness Coef.
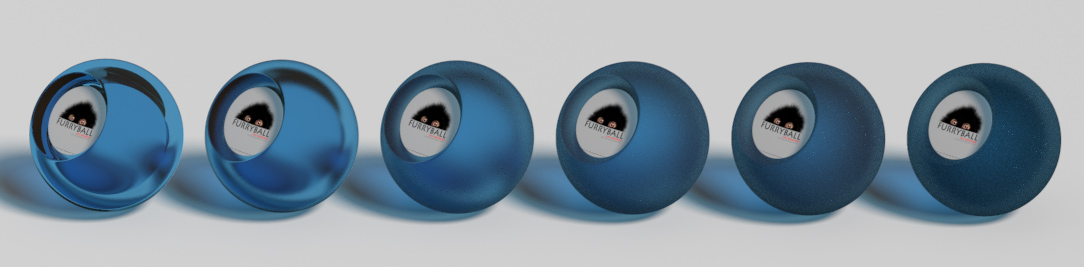
Light Attenuation
Amount of light is decreased when passing through transparent object. The attenuation can be adjusted or disabled using this parameter. Light attenuation depends on distance between two surfaces and is affected by Thickness Coef.
Add Color To Attenuated
Color of the first layer (closest to the camera) can be intensified using this parameter. The intensification affects first layer only and only if Light Attenuation is non-zero.
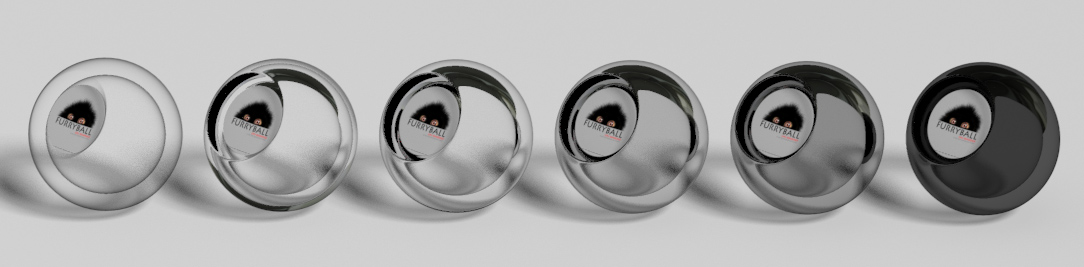
Fresnel Coef
Using this parameter Fresnel coefficient can be adjusted. When viewing transparent surface from a certain angle the transparency fades out and light rays are being reflected instead of going through.
Note: Refraction attributes are not supported with FurryBall Car Paint material.
Refractions - Raytaracing
Color
Refraction Color.

Transparency
Transparency weight.
Index of refraction
Ray refraction index. Exmaple values: 1 - air, 1.33 - water, 1.3 - ice, 1.5 - glass, 2.42 - diamond.
Roughness
Represents blurriness of refraction.
Thickness
Simulates thickeness of surface. If leaved at 0, mesh will render as fully-filled.

Shadow Attenuation
Subusrface Scattering
Preset
Subsurface shader has many attributes to be set, for easier use there are presets for several materials. Note that selecting any of these presets will change all other subsurface attributes.
Subsurface Scattering
Enable or disable subsurface scattering for this material.
Human Skin Specular
Specular shading depends on base material that is set (Lambert, Blinn, Phong or PhongE), however if human skin specular is enabled a special specular (oily skin) shader is used and only specular color is taken from base material. This specular shader can be used with any preset not only human skin.
Human Skin Roughness
Specular roughness for human skin specular, see Human Skin Specular attribute.
Layers
Number of subsurface layers to be used. If less than 6 layers unused parameters are ignored.
Softness
Amount of light diffusion and scatter in subsurface layers. Global parameter that affects diffusion radius of all the layers. You can connect a texture to this attribute, where the R channel controls the amount of blurring (0 = none) and the G channel controls the interpolation between non-SSS lighitng (0) and SSS lighting (1). Use the R and/or G channel to fix seams.
Color Scattering
How much of the surface color will be scattered with light. Subsurface scattering can scatter greyscale light only or fully colored surface (including textures etc.), this parameter defines ratio between those two.
Diffusion Radius L1-6
Light scatter radius for a particular layer, ie. how far a light can travel underneath the surface for this layer.
Color Weights L1-6
Light scattering can be very different for every color channel, eg. human skin scatters only red color in deeper layers. Color scattering can be controlled using these parameters.
SSS Map Size
Subsurface layers are rendered separately into SSS maps, increase the size of the maps if more detail is needed. Note that this parameter greatly affects memory usage.
Translucent Map Size
Resolution of a translucency map for this mesh. See Material Node section for the main SSS parameters description.
Stretch Map Size
Resolution of a stretch map for this mesh. Stretch map is used to balance texture coordinates mapping (large surface areas mapped to small texture areas and vice-versa). There is usually no need to change this but increasing the resolution might remove stretch related artifacts in some cases.
Texture Seam Bias
Texture seams are problematic for SSS in general. Adjusting this parameter can help reducing some texture seam artifacts, it tells how far from the seam SSS will be disabled.
Stretch Map Blur Radius
Stretch map (see Stretch Map Size) is blurred by default to smooth transitions between unequally mapped areas. Use this to help removing blocky artifacts.
Note: SSS attributes are not supported with FurryBall Car Paint material.
Oren-Nayar
Roughness
Oren-Nayar diffuse model with roughness. A value of 0 is standard Lambert reflection. Values above 0 will cause rougher surface look, typical for materials like sand, plaster, concrete or paper .
Other
Velvet Strenght
Intensity of velvet applied to surfaces with this material. If non-zero special velvet shader is activated. This effect adds "velvet' color to object silhouettes. Reacts to diffuse lights.
Velvet Bias
Bias normals so that velvet is applied further inside from the silhouettes.
Velvet Color
The velvet color.
Material with velvet shading.
Created with the Personal Edition of HelpNDoc: Free EPub producer